If you’re ready to hit the ground running, this is the guide you’ve been looking for.
BASECAMP
BASICS

Basecamp is the software where we collaborate with you to get work done.
Step One: Accept Your Invite
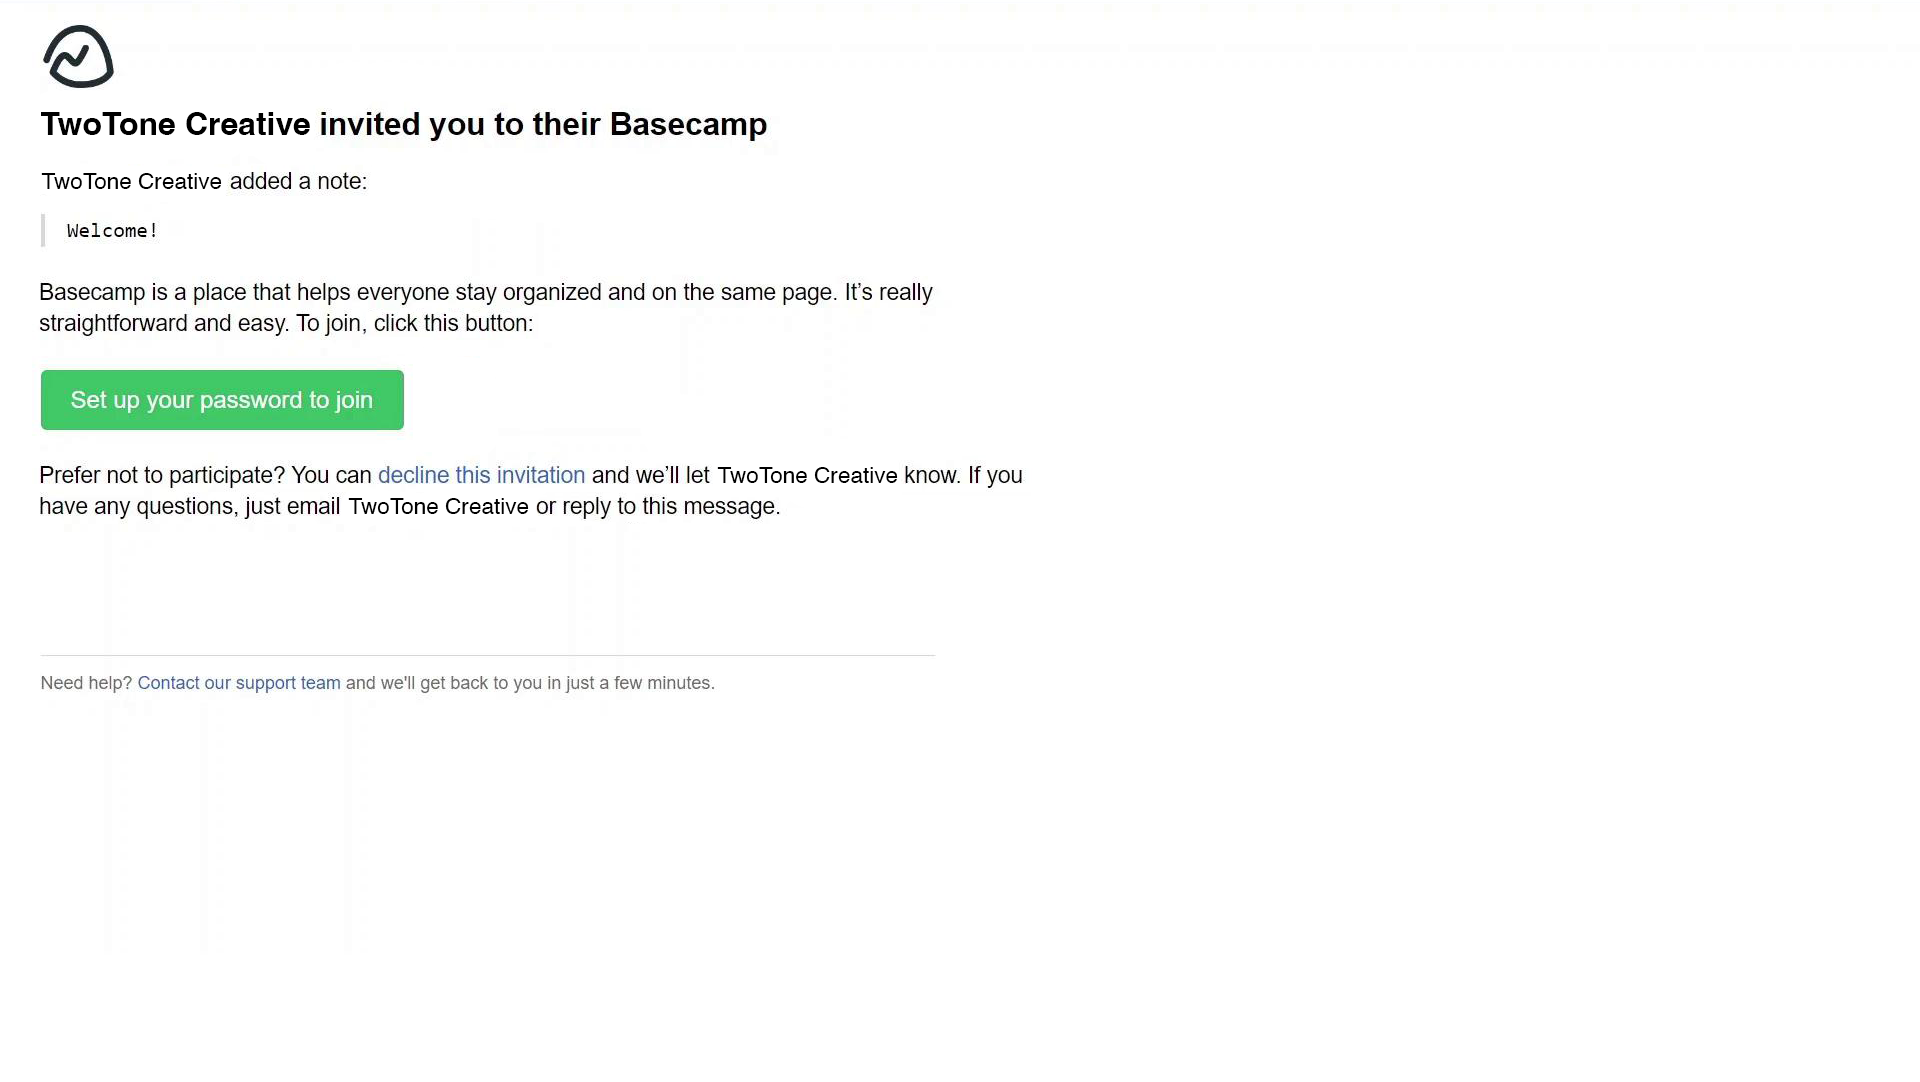
First, TwoTone will invite you to join our Basecamp.
- You should receive the invitation in your email inbox, but try checking your spam folder if you don’t see it.
- Once you’ve followed those instructions, you can view Basecamp in your web browser or download the desktop application.
Step Two: Adjust Your Notification Preferences
Whether you like to keep tabs on every detail of every project or prefer less frequent updates, customizing your Basecamp notifications can help you stay informed at a level that works for you.
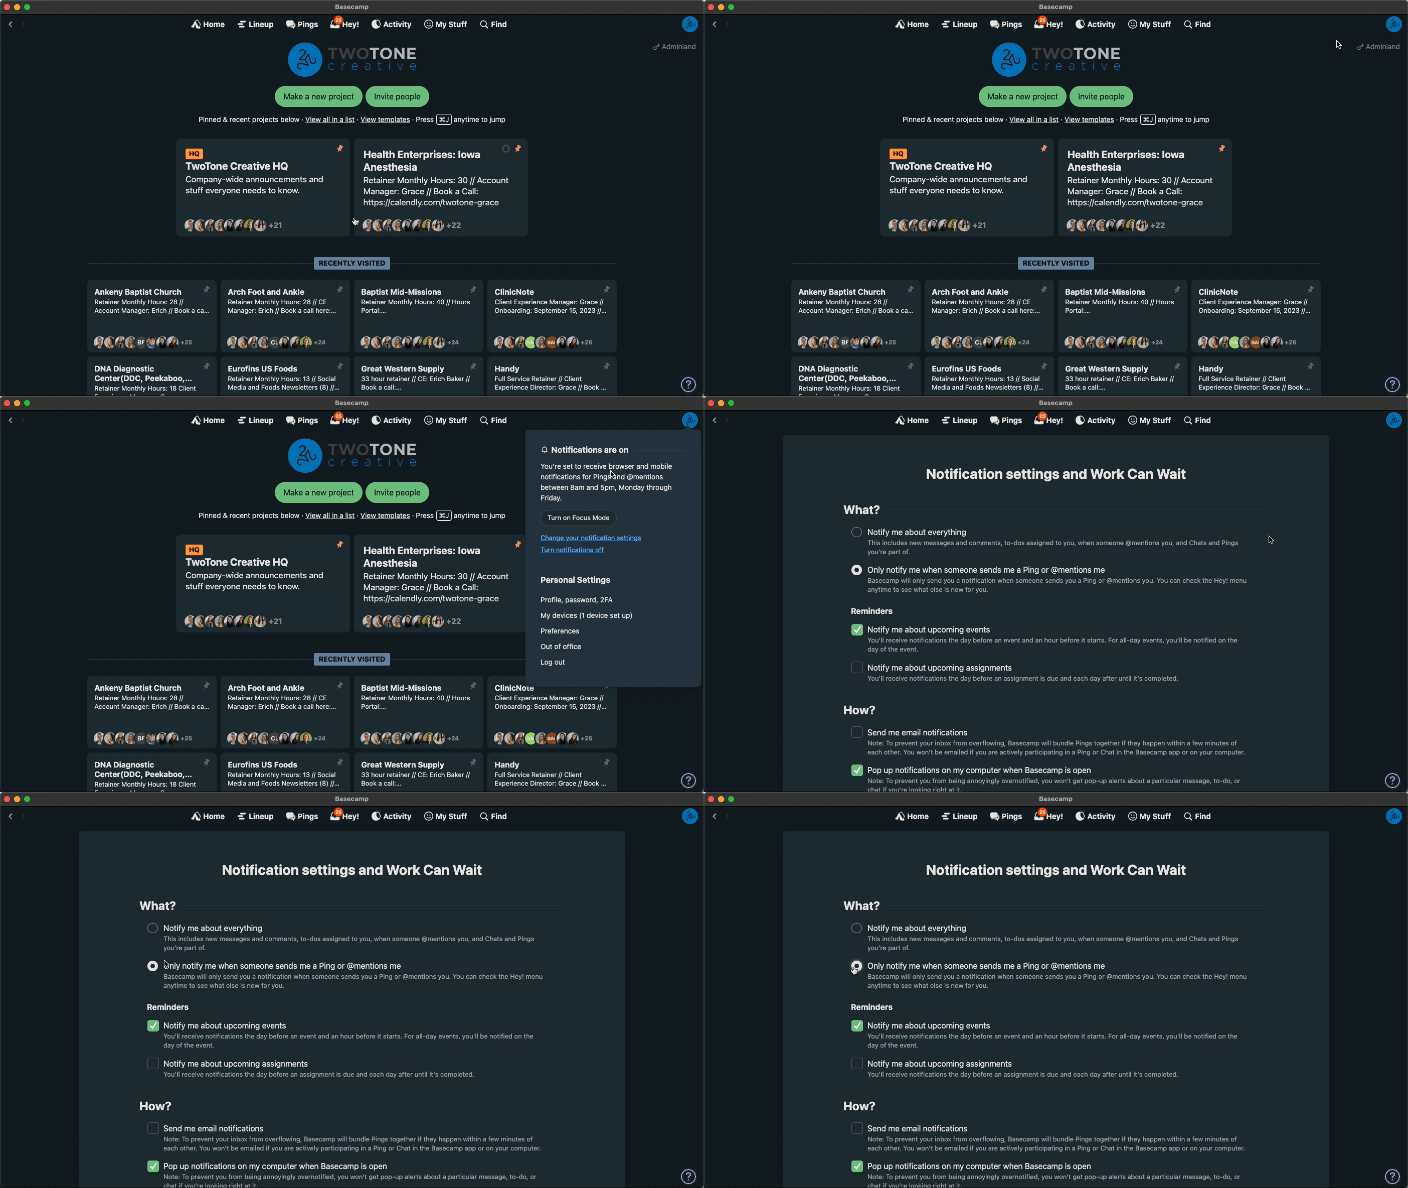
- Click the icon at the top right of your screen—it will either be your profile picture or your initials.
- Click “Change Notification Settings” and update your notification preferences (we’d recommend changing them to “Only notify me when someone sends me a Ping or @mentions me”).
Step Three: Create a Project
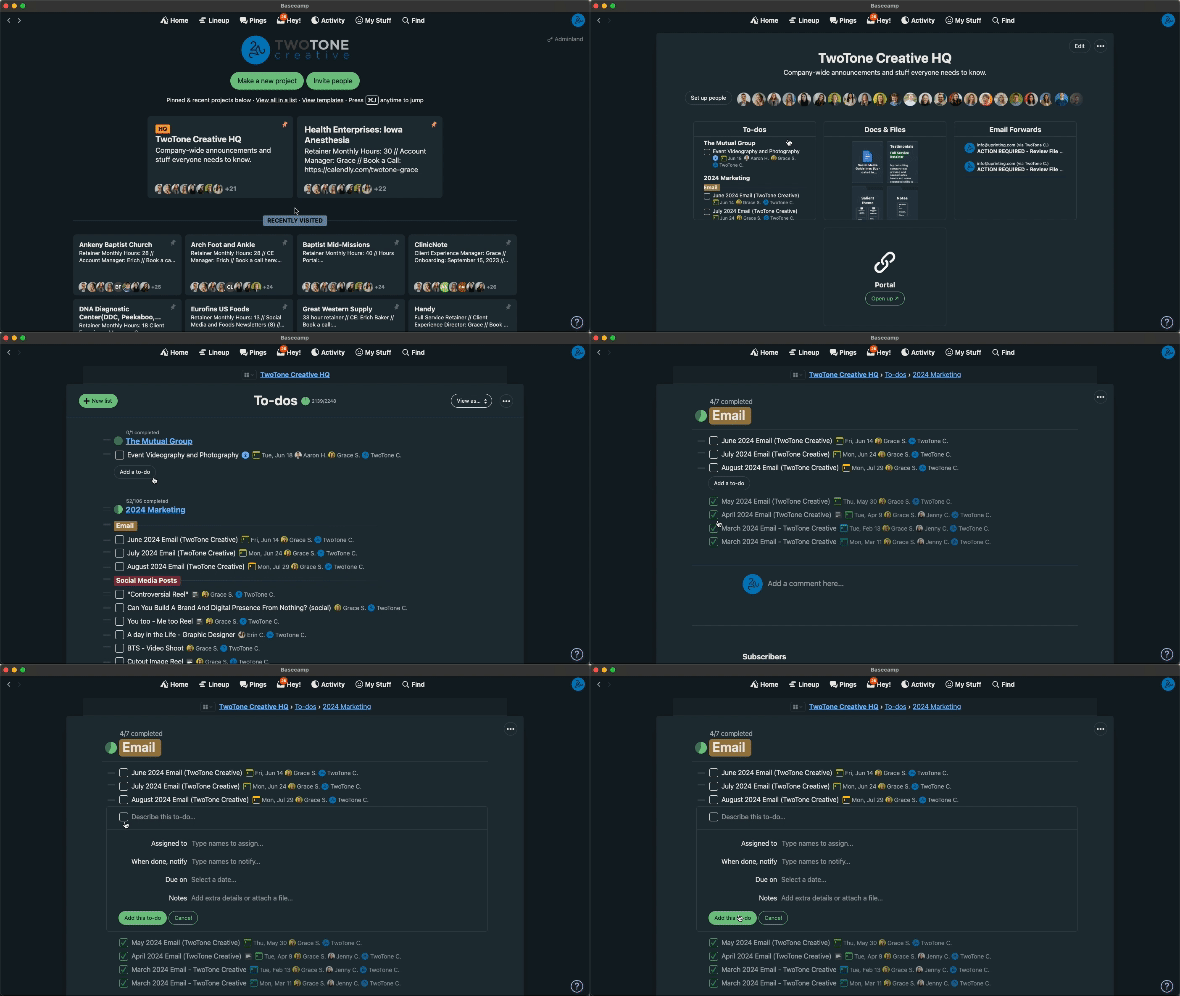
When you’re ready for TwoTone to work on something, it’s time to add a project!
To-Dos vs. Projects vs. Lists: What’s the difference?
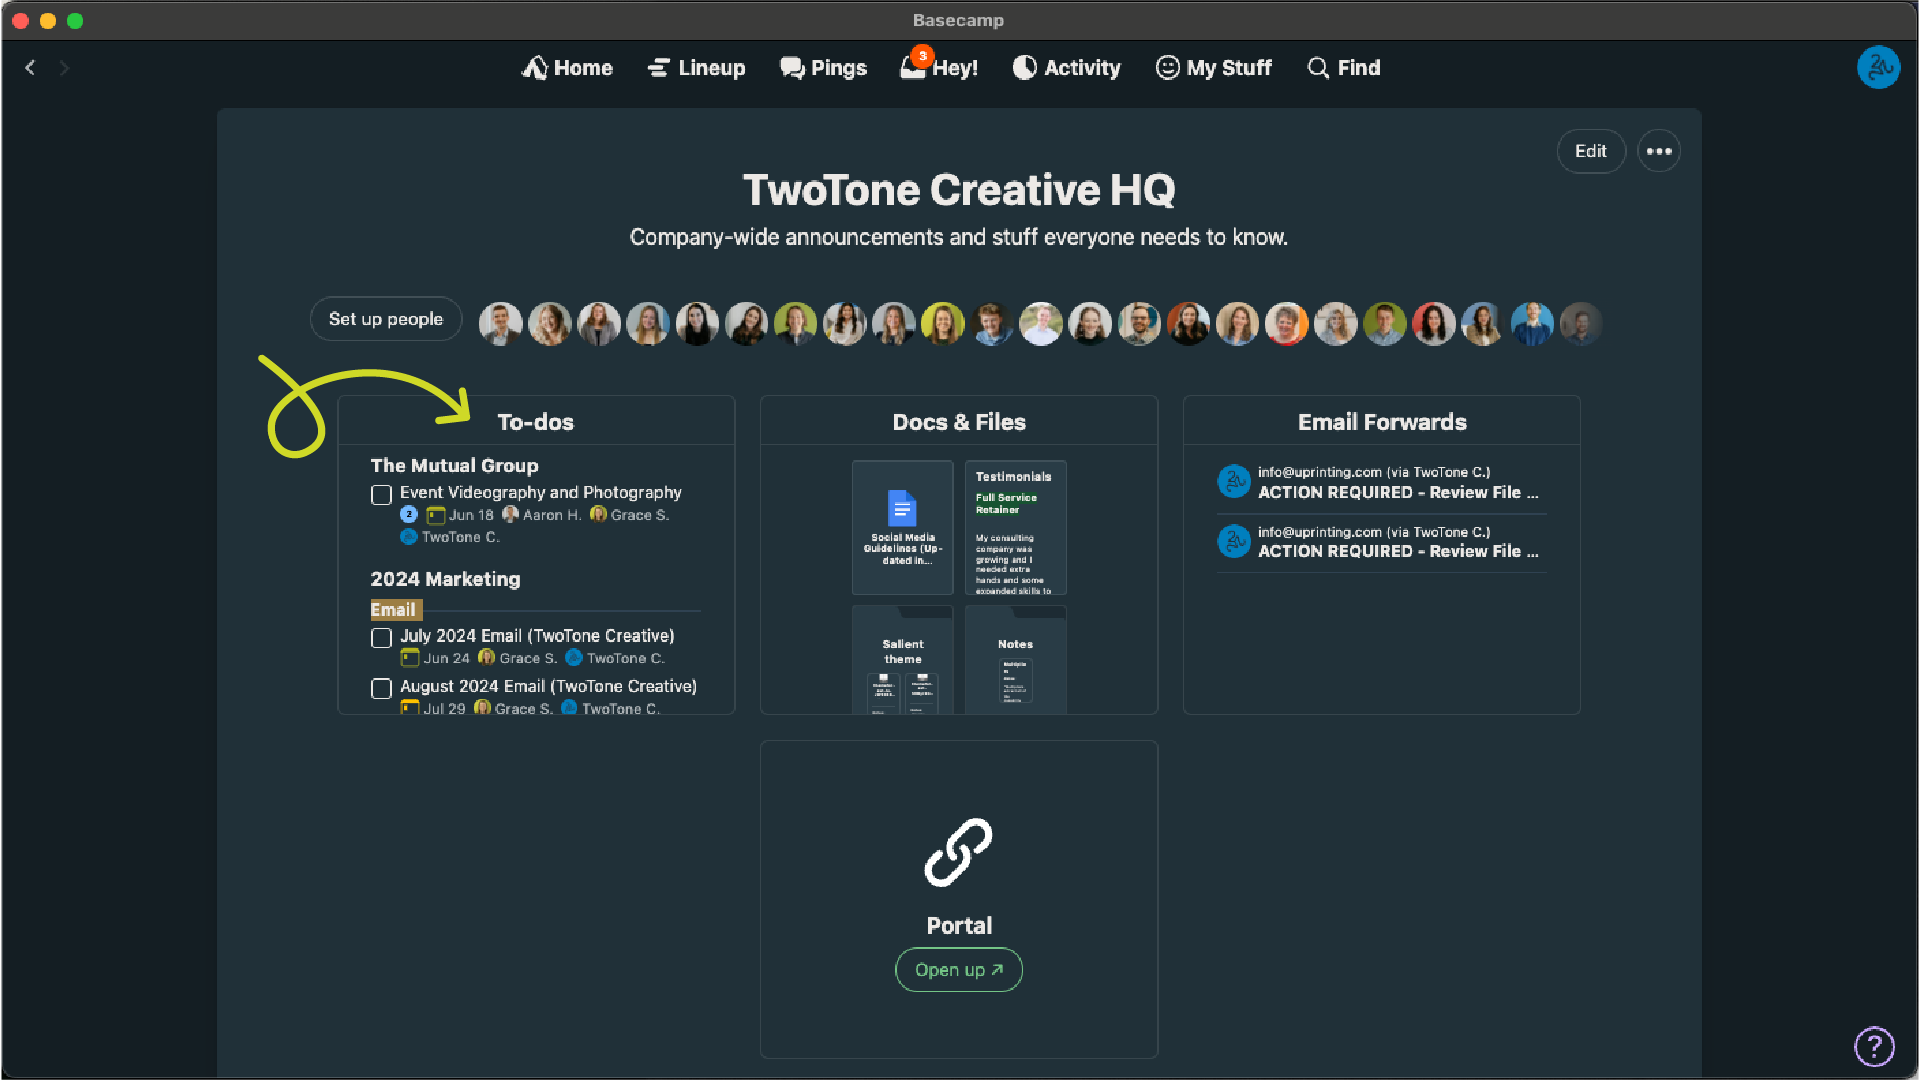
- When TwoTone says “project”, we mean the same thing as what Basecamp calls a “To-Do”—essentially, an individual task you’d like TwoTone to work on.
- Lists (created using the green button at the top left corner of the screen) help us break projects into categories (such as by event, month, or type of project).
Creating a To-Do
- Add the project name.
- Assign the project to TwoTone and your Client Experience manager.
- Add yourself or the person responsible to the “When done, notify” section.
- Add a project due date.
- Provide the who, what, when, where, how, how many, etc. of the project in the notes section.
- Add the to-do.
Step Four: Respond to Comments
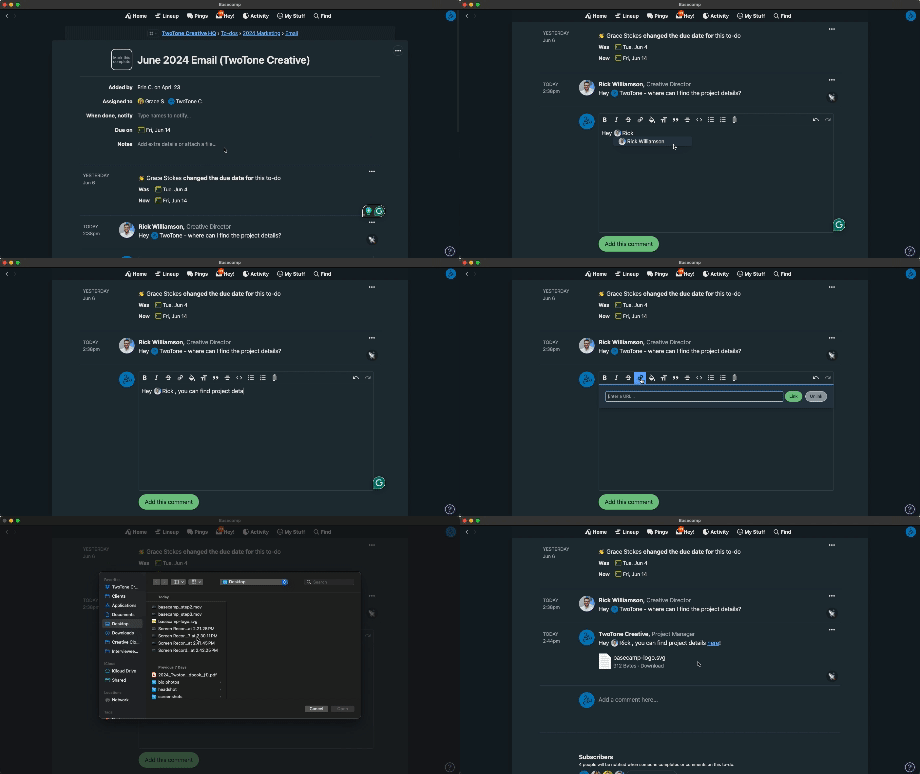
Most projects will require a small amount of communication between your team and the TwoTone team.
- To make a comment, scroll to the bottom of the thread to the most recent comment and click “Add a comment here” to leave your feedback or approval.
- To add a hyperlink in your comment, highlight the text you’d like to hyperlink and click the chain icon above the comment box, then add the link.
- To attach a file to your comment, click the paperclip icon and select the file you’d like to attach.
Step Five: Mark Your Project Complete
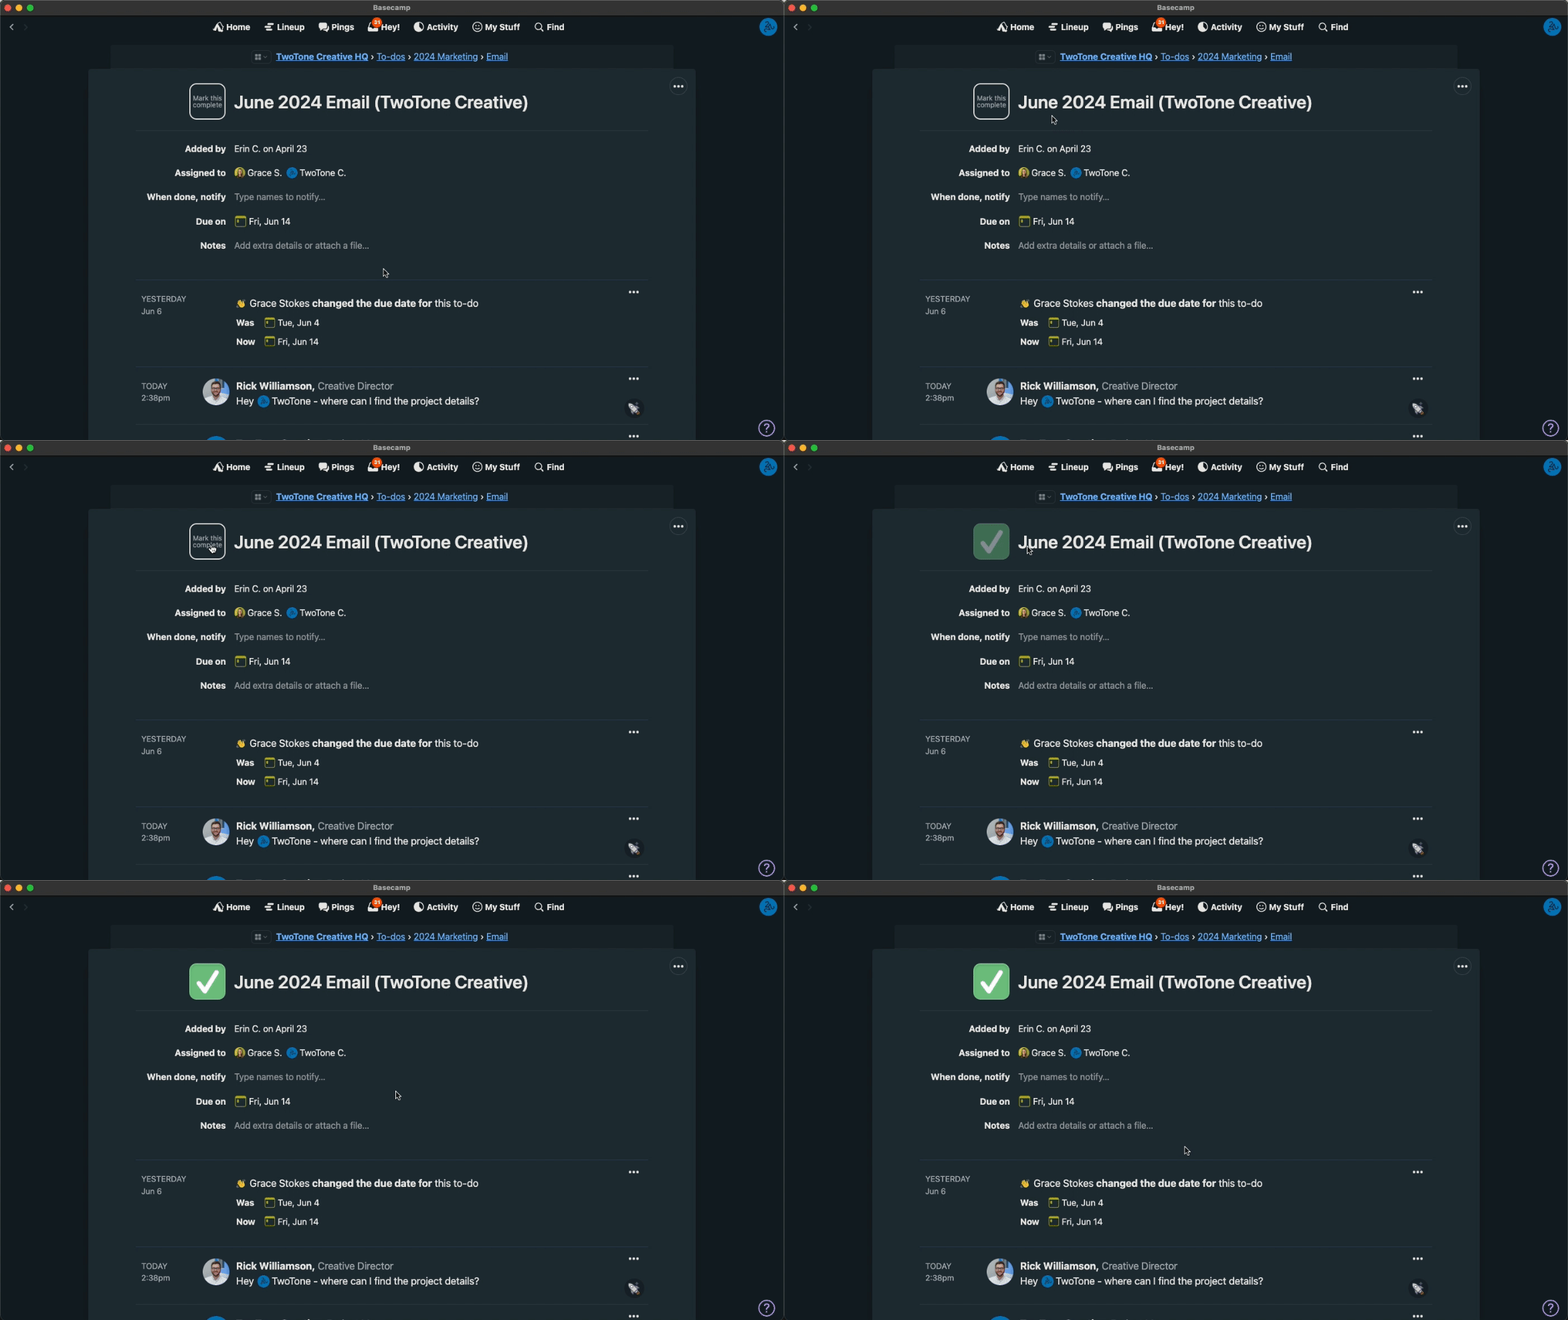
When you are satisfied and have everything you need, click the big green check box—it’s time to celebrate!
- Have an extra note or question but your project is marked done? No problem—just uncheck the box, leave your message, and tag your Client Experience manager to reopen the project, and we’ll be on it.
